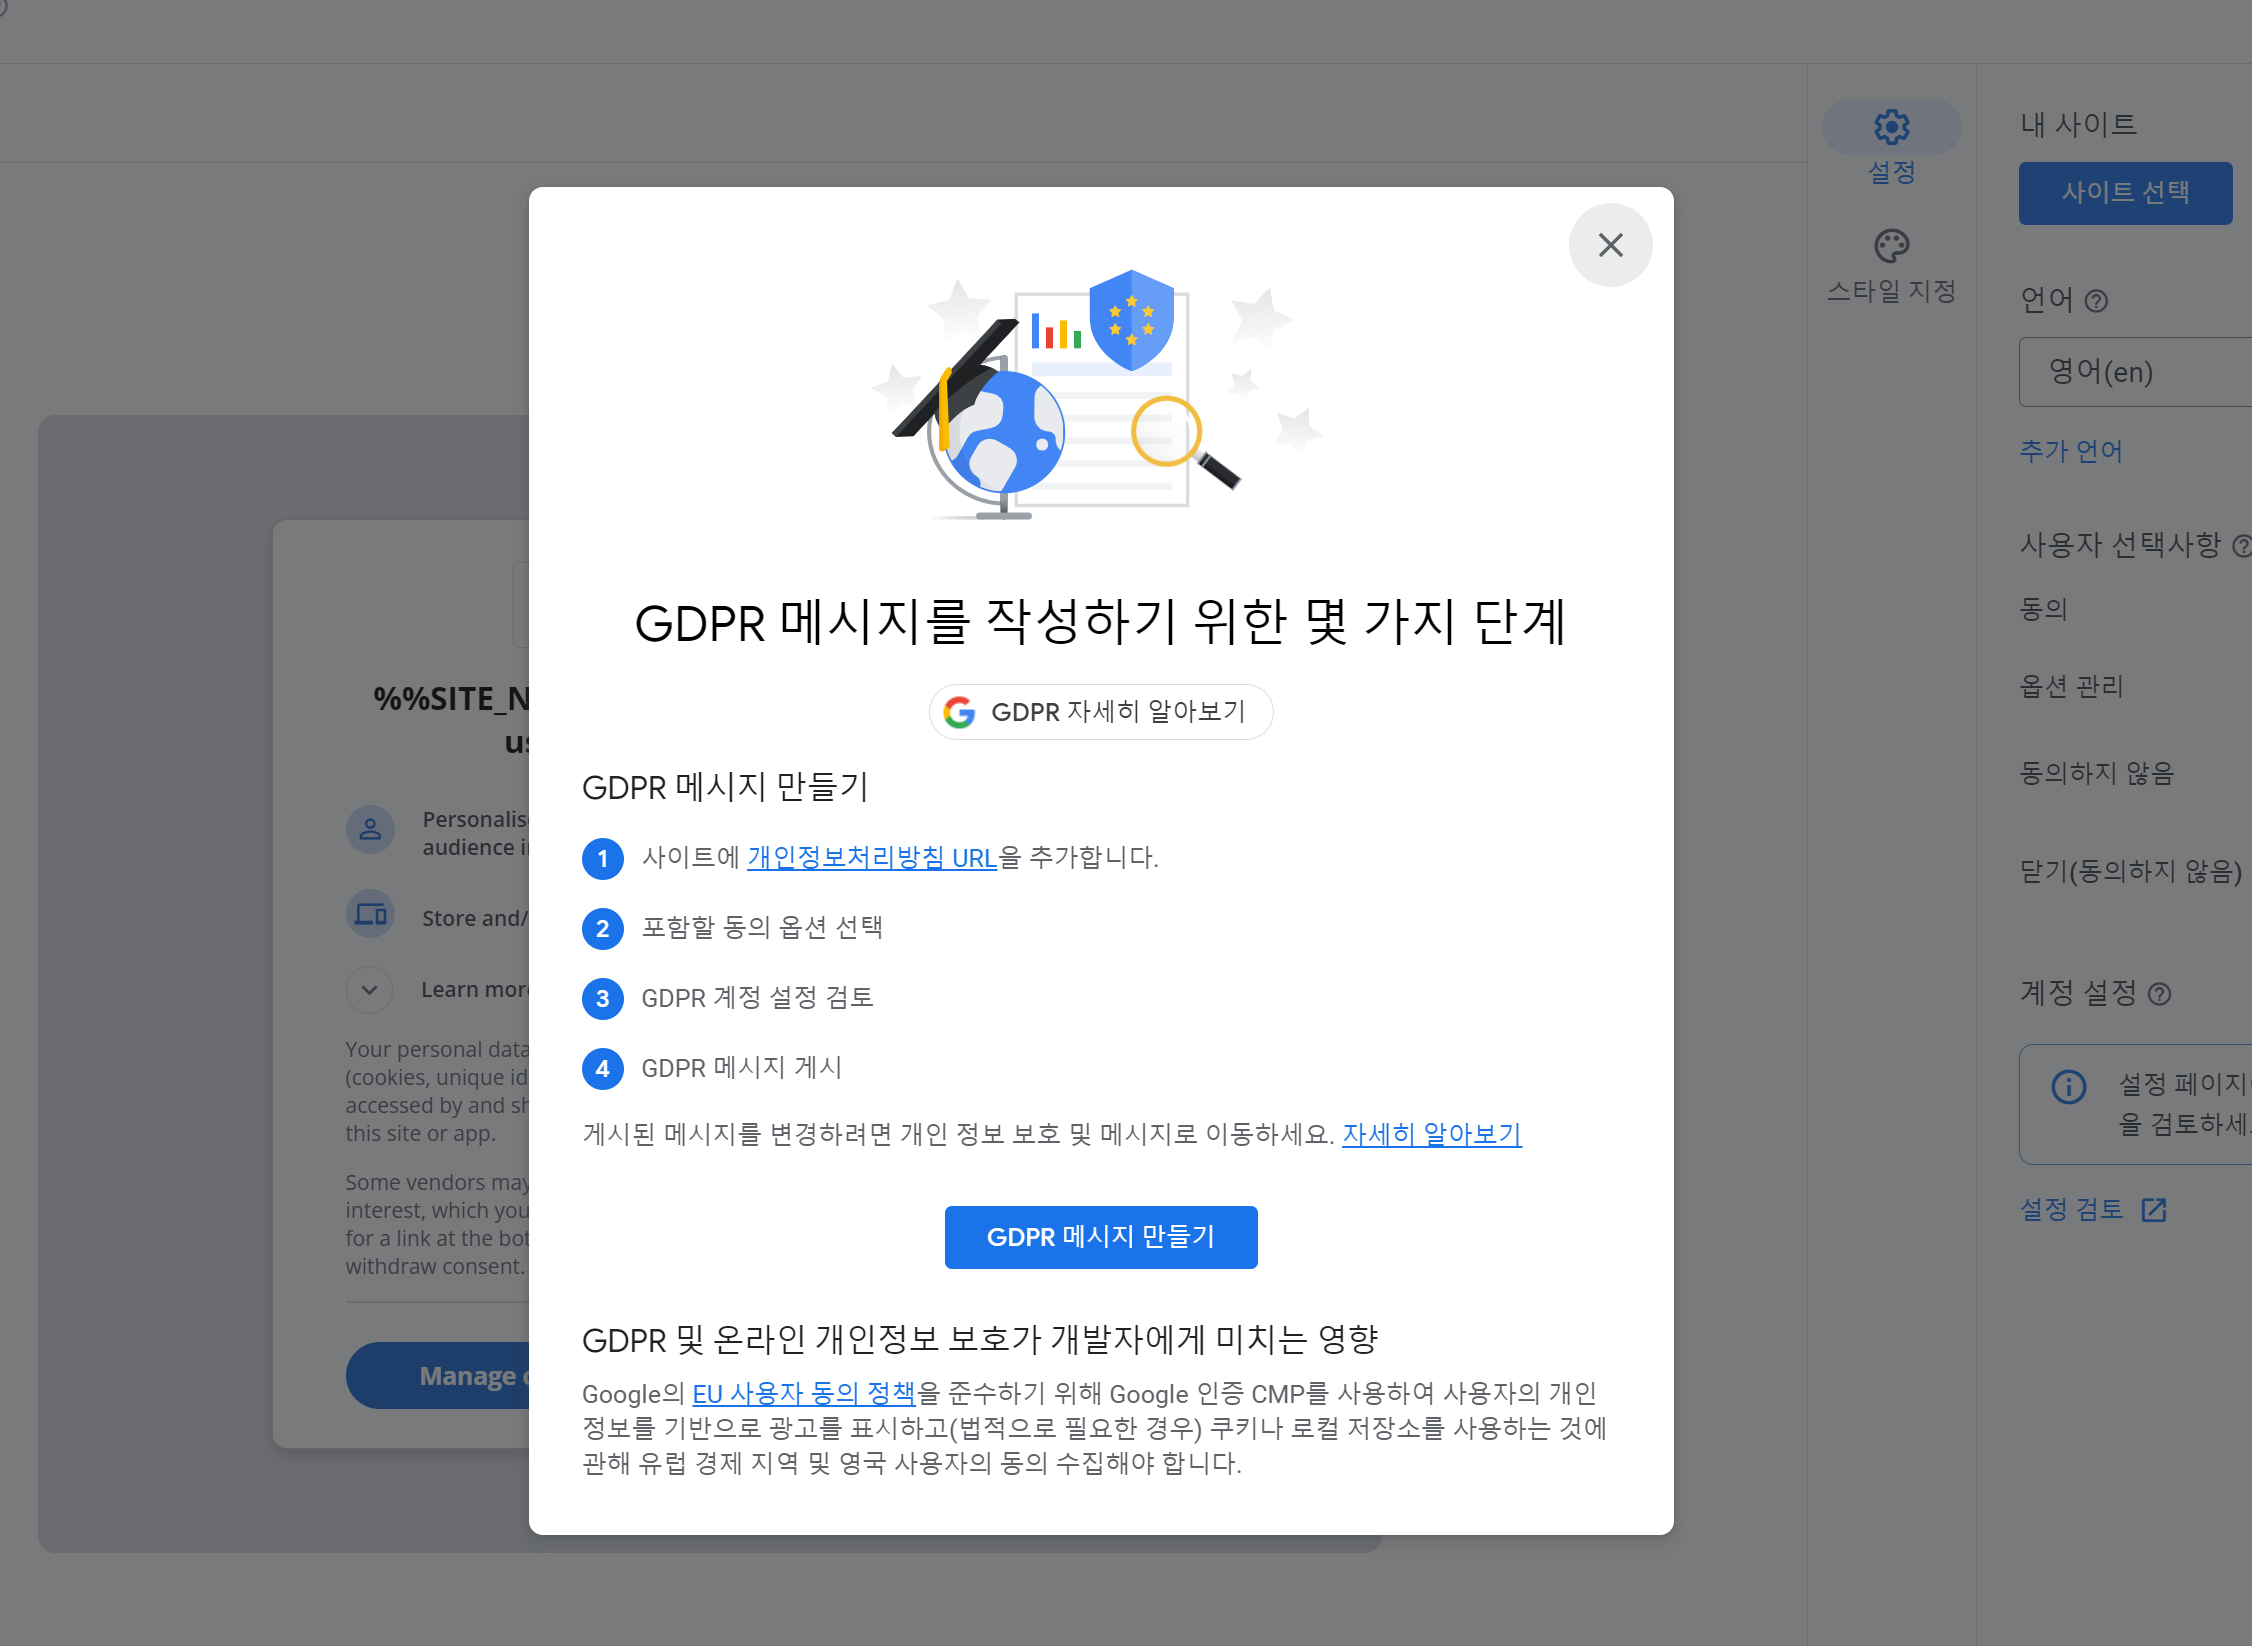
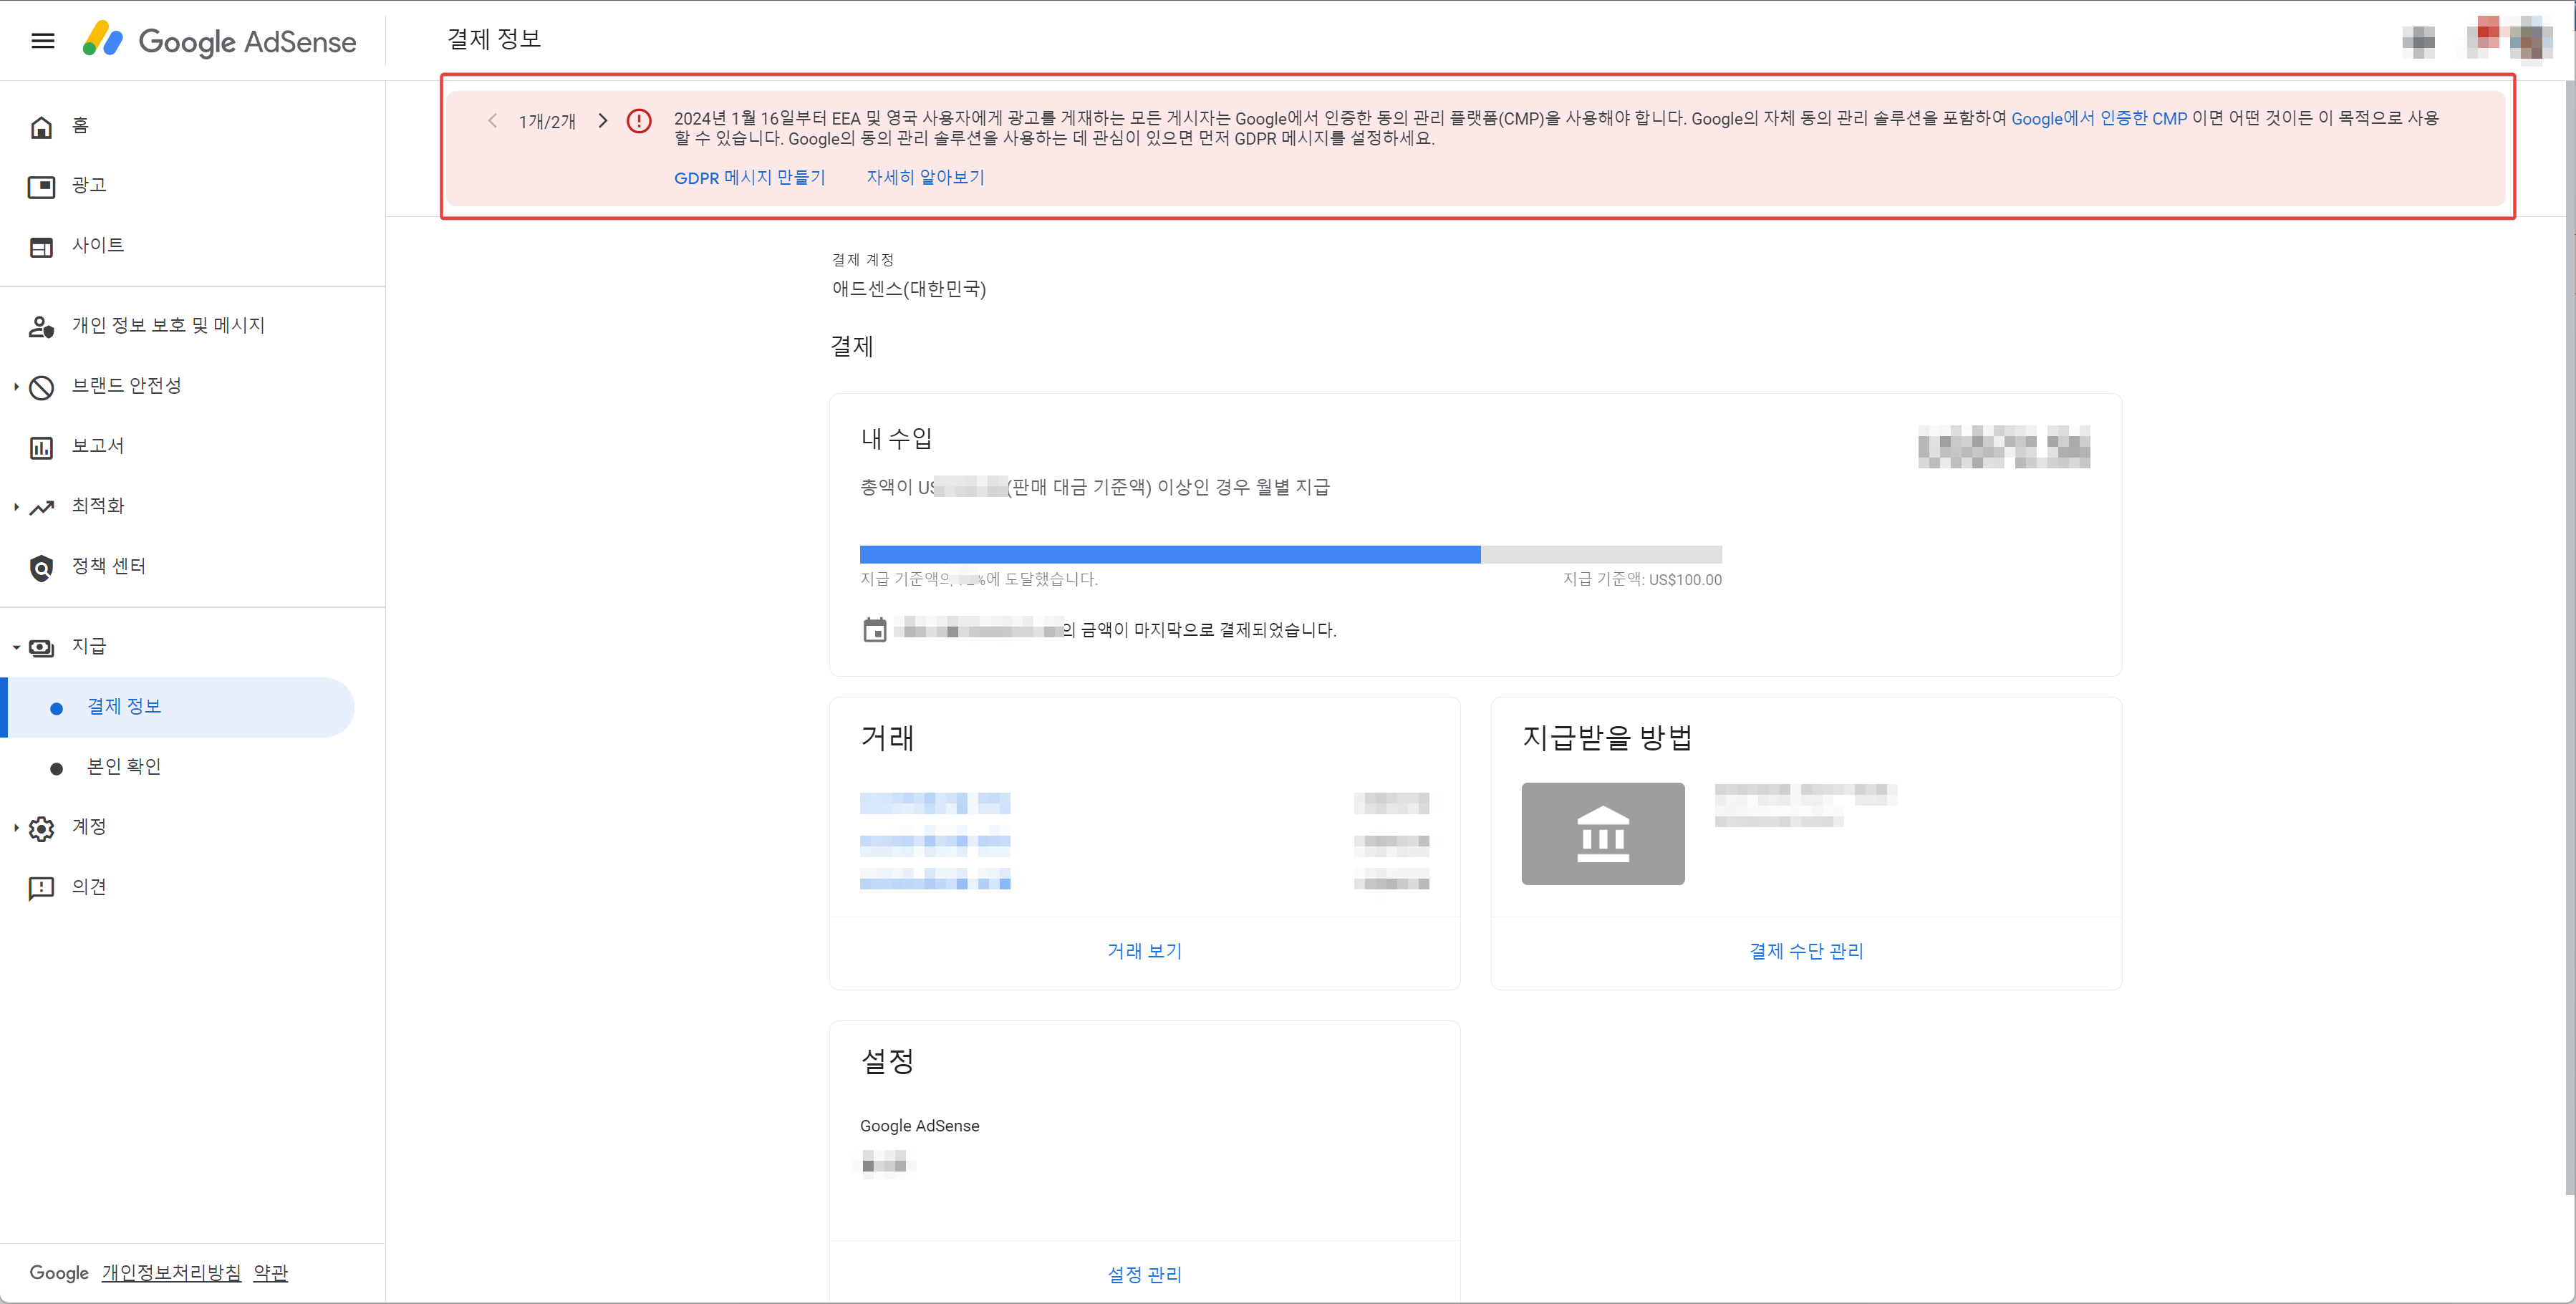
2024년 1월 16일부터 EEA 및 영국 사용자에게 광고를 게재하는 모든 게시자는 Google에서 인증한 동의 관리 플랫폼(CMP)을 사용해야 합니다. Google의 자체 동의 관리 솔루션을 포함하여 Google에서 인증한 CMP 이면 어떤 것이든 이 목적으로 사용할 수 있습니다. Google의 동의 관리 솔루션을 사용하는 데 관심이 있으면 먼저 GDPR 메시지를 설정하세요.
GDPR 메시지 만들기를 진형하면 생성 화면과 함께 메세지 만들기에 들어가는데 이 작업을 하고 나면 이제 GDPR 메세지가 접속자에게 보이게 됩니다.
GDPR을 준수하면 개인을 추적할 수 없습니다. GDPR을 준수하지 않으면 애드센스의 리타겟팅 추적 광고는 보이지 않게 됩니다. GDPR메세지가 보이면 접속자는 자신을 추적하게 허용할지 아닐지를 결정할 수 있고 추적을 허용하지 않게 하면 사이트에서 강제로 이탈되거나 정보의 일부만 볼 수도 있습니다.
그리고 개인을 추적하지 않아도 광고는 계속 내보냅니다. 아무 광고나 보이게 된다는 점의 차이만 있을 뿐입니다.
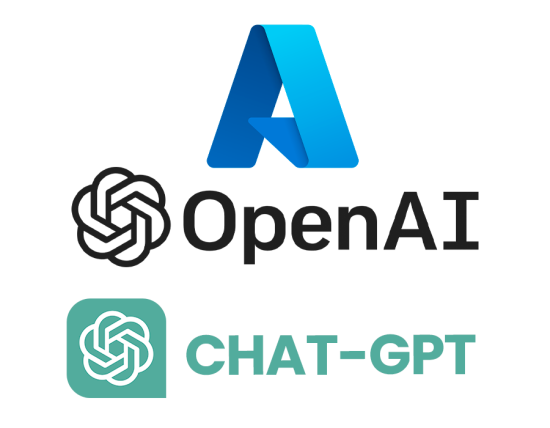
Azure cloud (애저 클라우드, 이하 Azure)에서 지원하는 OpenAI API로 GPT를 사용하는 방법입니다.
OpenAI에서 제공하는 Python 클라이언트 패키지를 설치해서 똑같이 사용하면 됩니다. 별도의 패키지가 필요하지는 않습니다. OpenAI의 Python 패키지에 이미 Azure를 지원하기 위한 코드가 들어 있습니다. Microsoft가 OpenAI의 가장 큰 투자자이고 협력관계이기 때문인 것 같습니다.
단, openai의 API를 사용할 때와 다른 점은 다음과 같습니다.
openai를 처음 초기화 할 때 다른 Azure OpenAI에만 필요한 설정값 필요
completion을 생성할 때 파라미터가 조금 다름
자세한 내용은 애저(Azure)에서 제공하는 문서를 참고하면 됩니다.
예제는 아래의 소스 코드를 참고하세요.
import os
import openai
import toml
import base64


openai.api_key = "  ***** 본인의 API키 ***** "
openai.api_base = "https://instance-openai-0.openai.azure.com/"
openai.api_type = "azure"
openai.api_version = "2023-07-01-preview"
deployment_id: str = "deployment-gpt-4-32k"  # 본인의 배포 ID로 변경

instructions: list[dict] = [
    {"role": "system", "content": "you are an assistant for software engineers"},
]

messages: list[dict] = [
    # {"role": "user", "content": "What is ticket price for cruise ship"}, # for function_call
    {"role": "user", "content": "샌프란시스코의 관광명소를 알려주세요."},  # for normal reply
]

response: openai.ChatCompletion = openai.ChatCompletion.create(
    # model="gpt-4", # this is for the OpenAI API, not for the Azure API
    deployment_id=deployment_id, # this is for the Azure API, not for the OpenAI API
    # engine=deployment_id, # same as above
    messages=instructions + messages,
    functions=[
        {
            "name": "get_ticket_price",
            "description": "Get ticket price of cruise ship",
            "parameters": {
                "type": "object",
                "properties": {
                    "start_location": {
                        "type": "string",
                        "description": "Start location of the cruise ship",
                    },
                    "end_location": {
                        "type": "string",
                        "description": "End location of the cruise ship",
                    },
                },
            },
            "required": ["start_location", "end_location"],
        },
    ],
    function_call="auto",
    temperature=0.90,
    max_tokens=800,
    top_p=0.99,
    frequency_penalty=0,
    presence_penalty=0,
    stop=None)

if len(response.choices) > 0:
    if response.choices[0].finish_reason == "function_call":
        print("=====================================")
        print("function_call is called")
        print(response.choices[0].message)
        print("=====================================")
    else:
        print("=====================================")
        print("reply is returned")
        print("role: ", response.choices[0].message.role)
        print("message: ", response.choices[0].message.content)
        print("=====================================")
else:
    print("No response.")